Tuesday Tips have arrived!!
Today's tips...Squaring up Metro Rings blocks with step by step detailed picture tutorials.
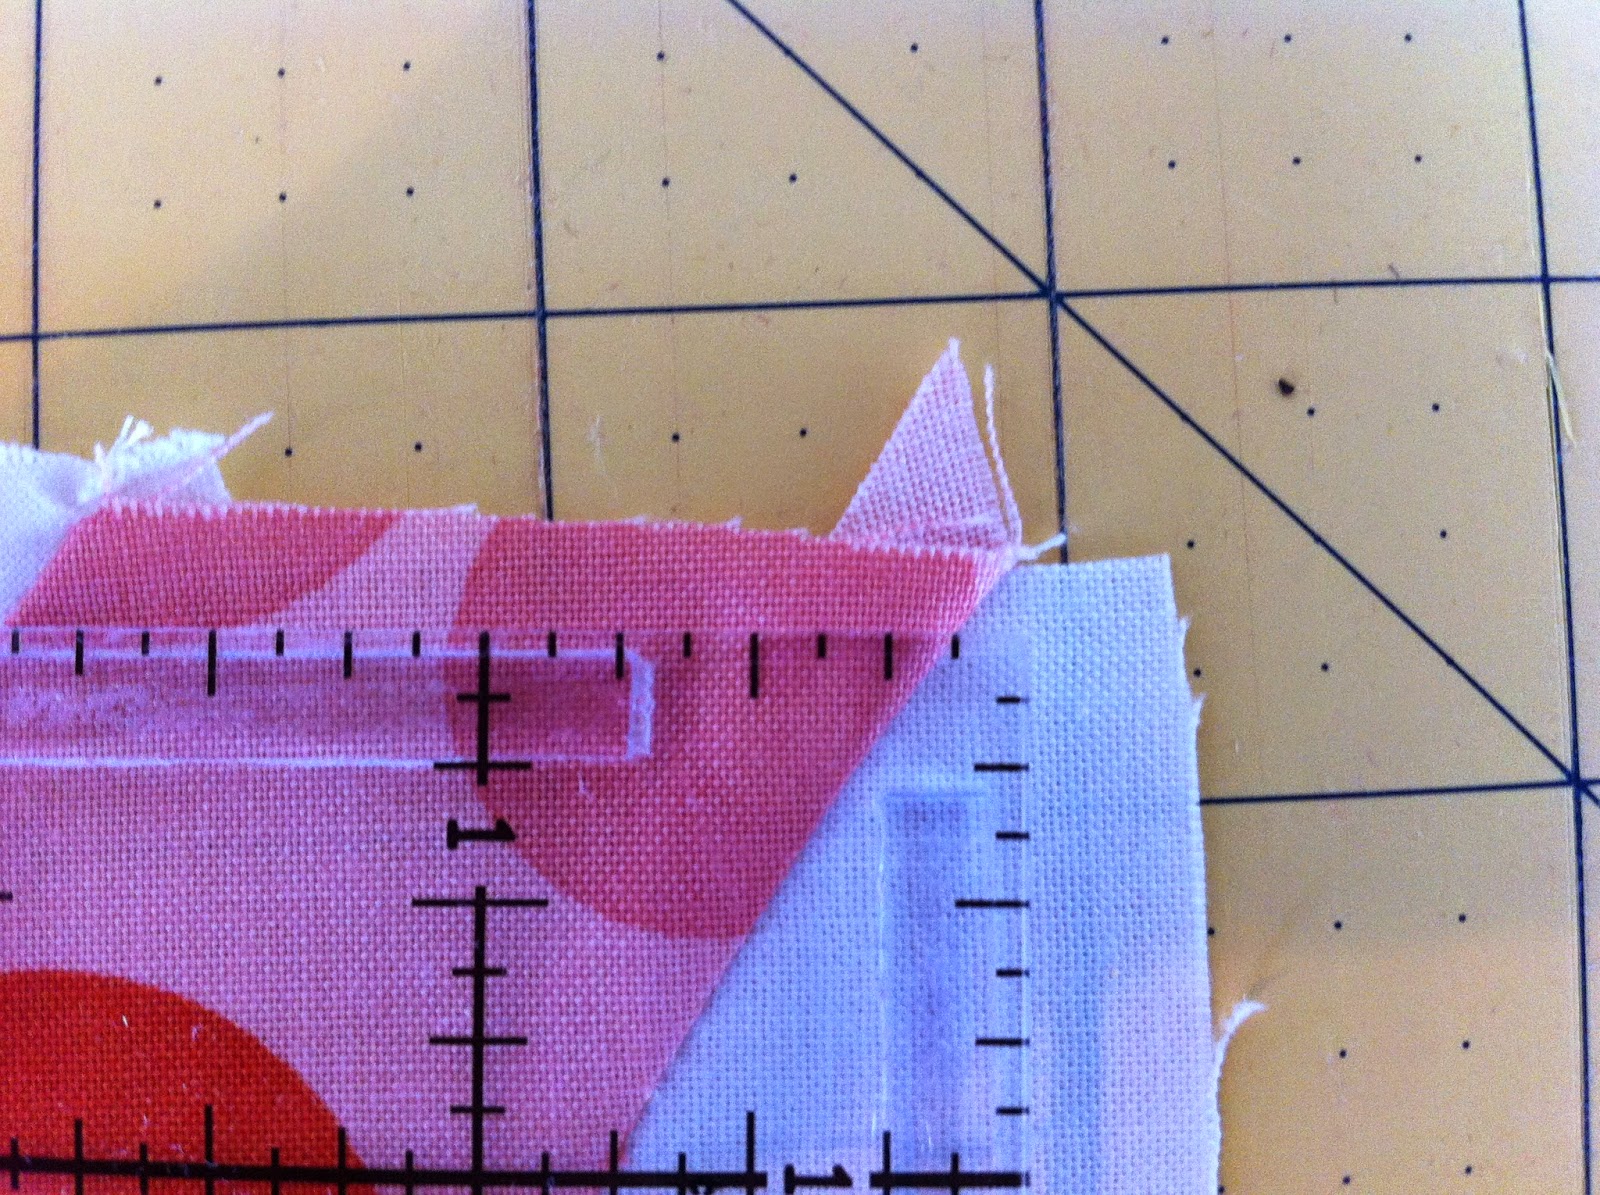
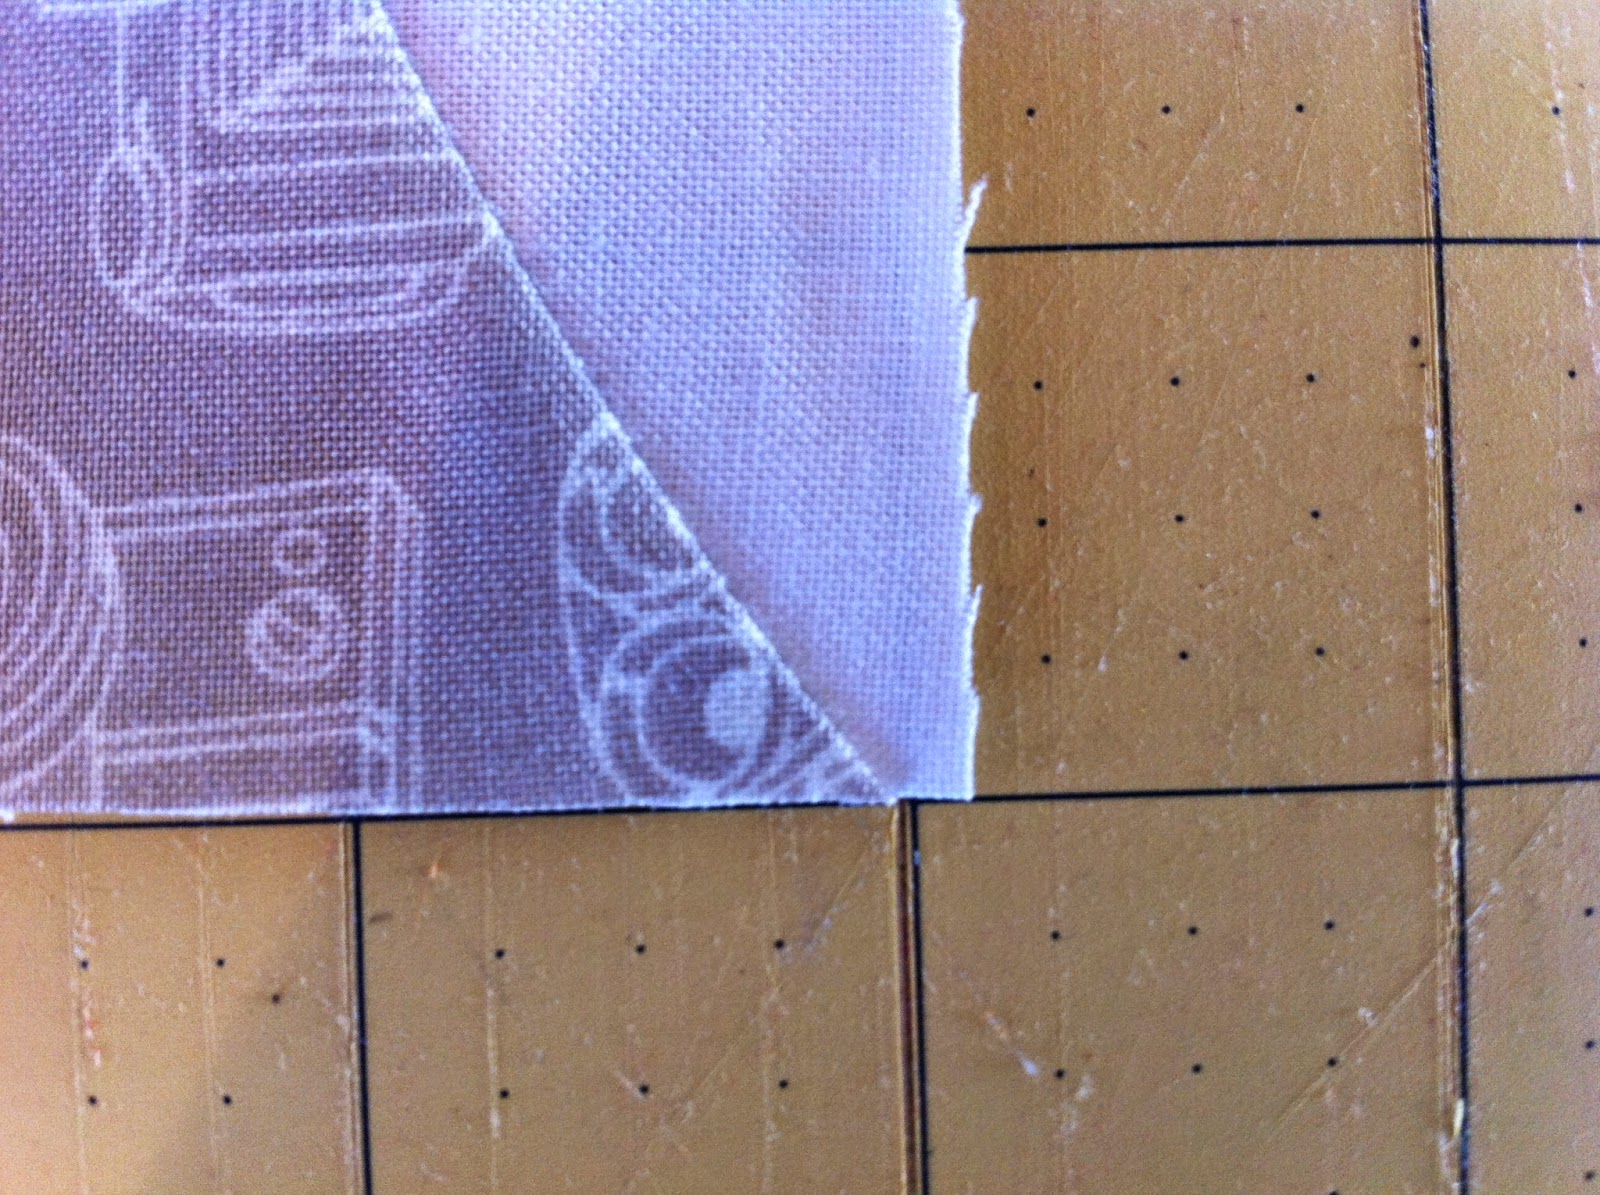
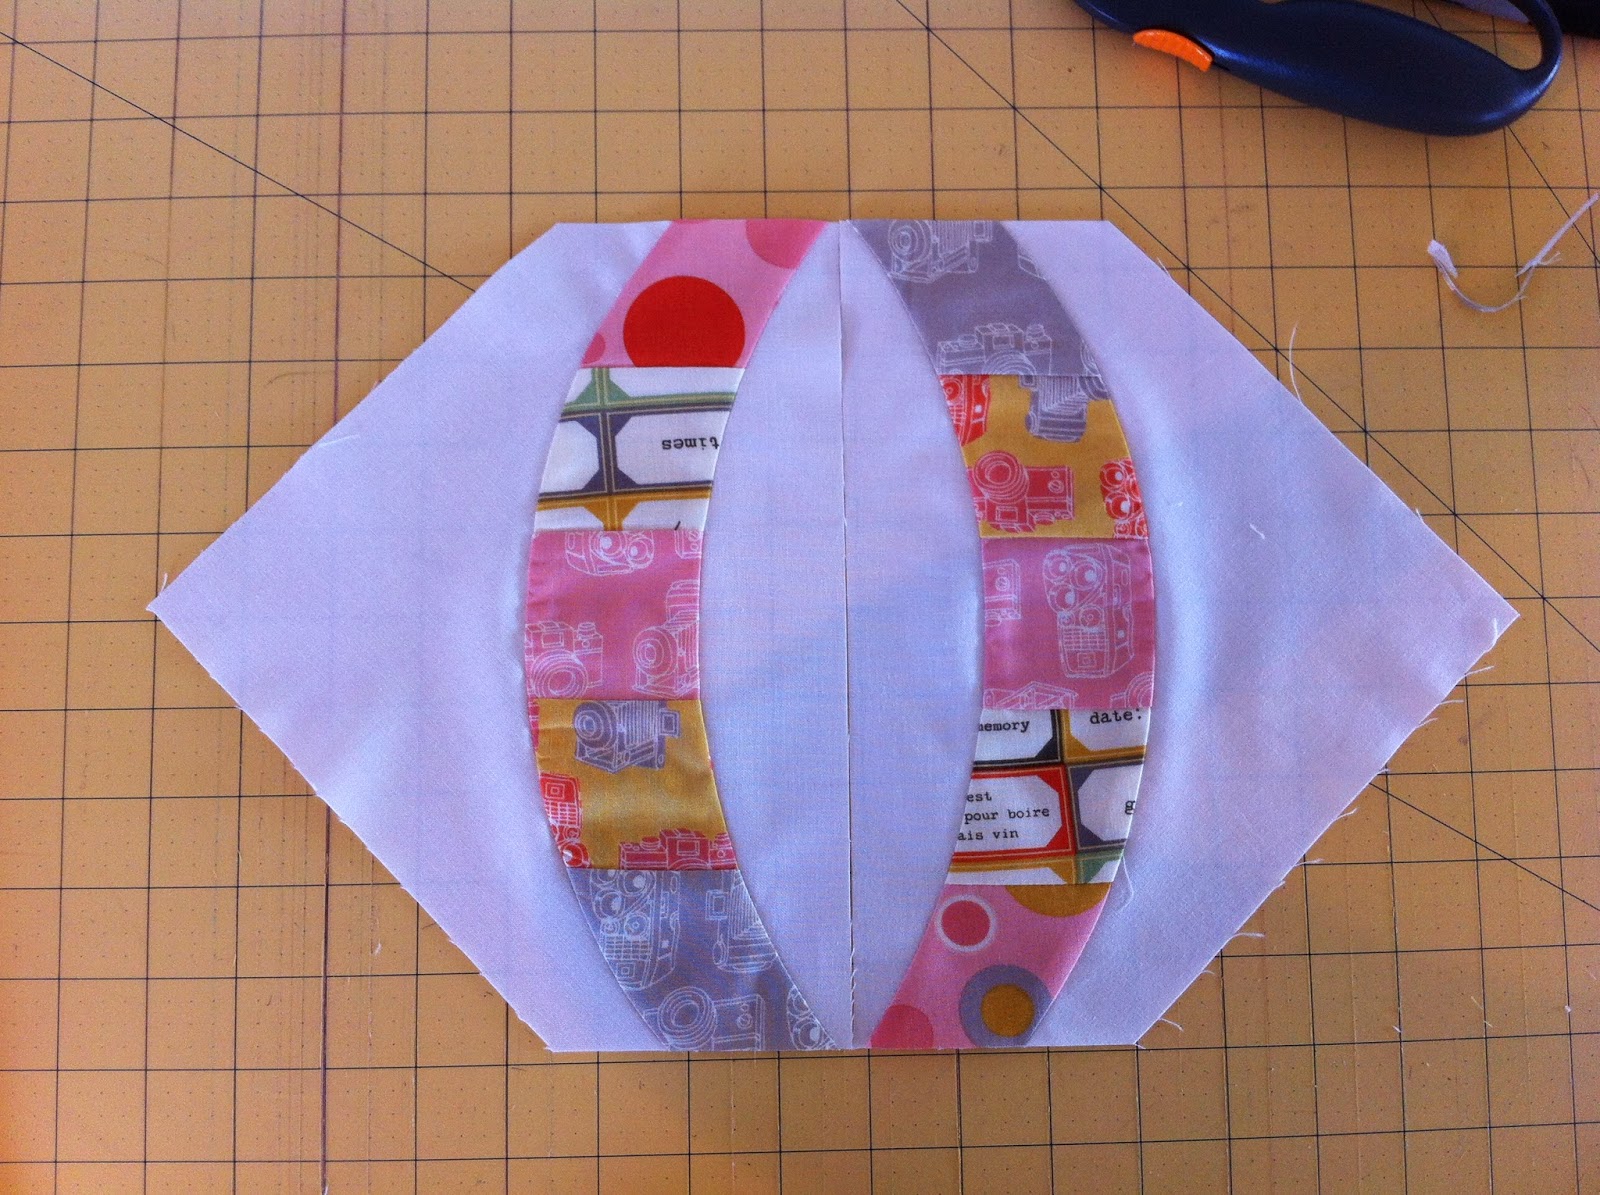
First, we'll start by squaring up the W/P/T block. Position QCR on block and center right curved seam under ruler's 1/8" marks and line up point of block with ruler's 4 3/4" mark.

Be sure point on block is lined up approx. with
4 3/4" mark on QCR. You may need to slide ruler up or down a bit to get the point lined up.
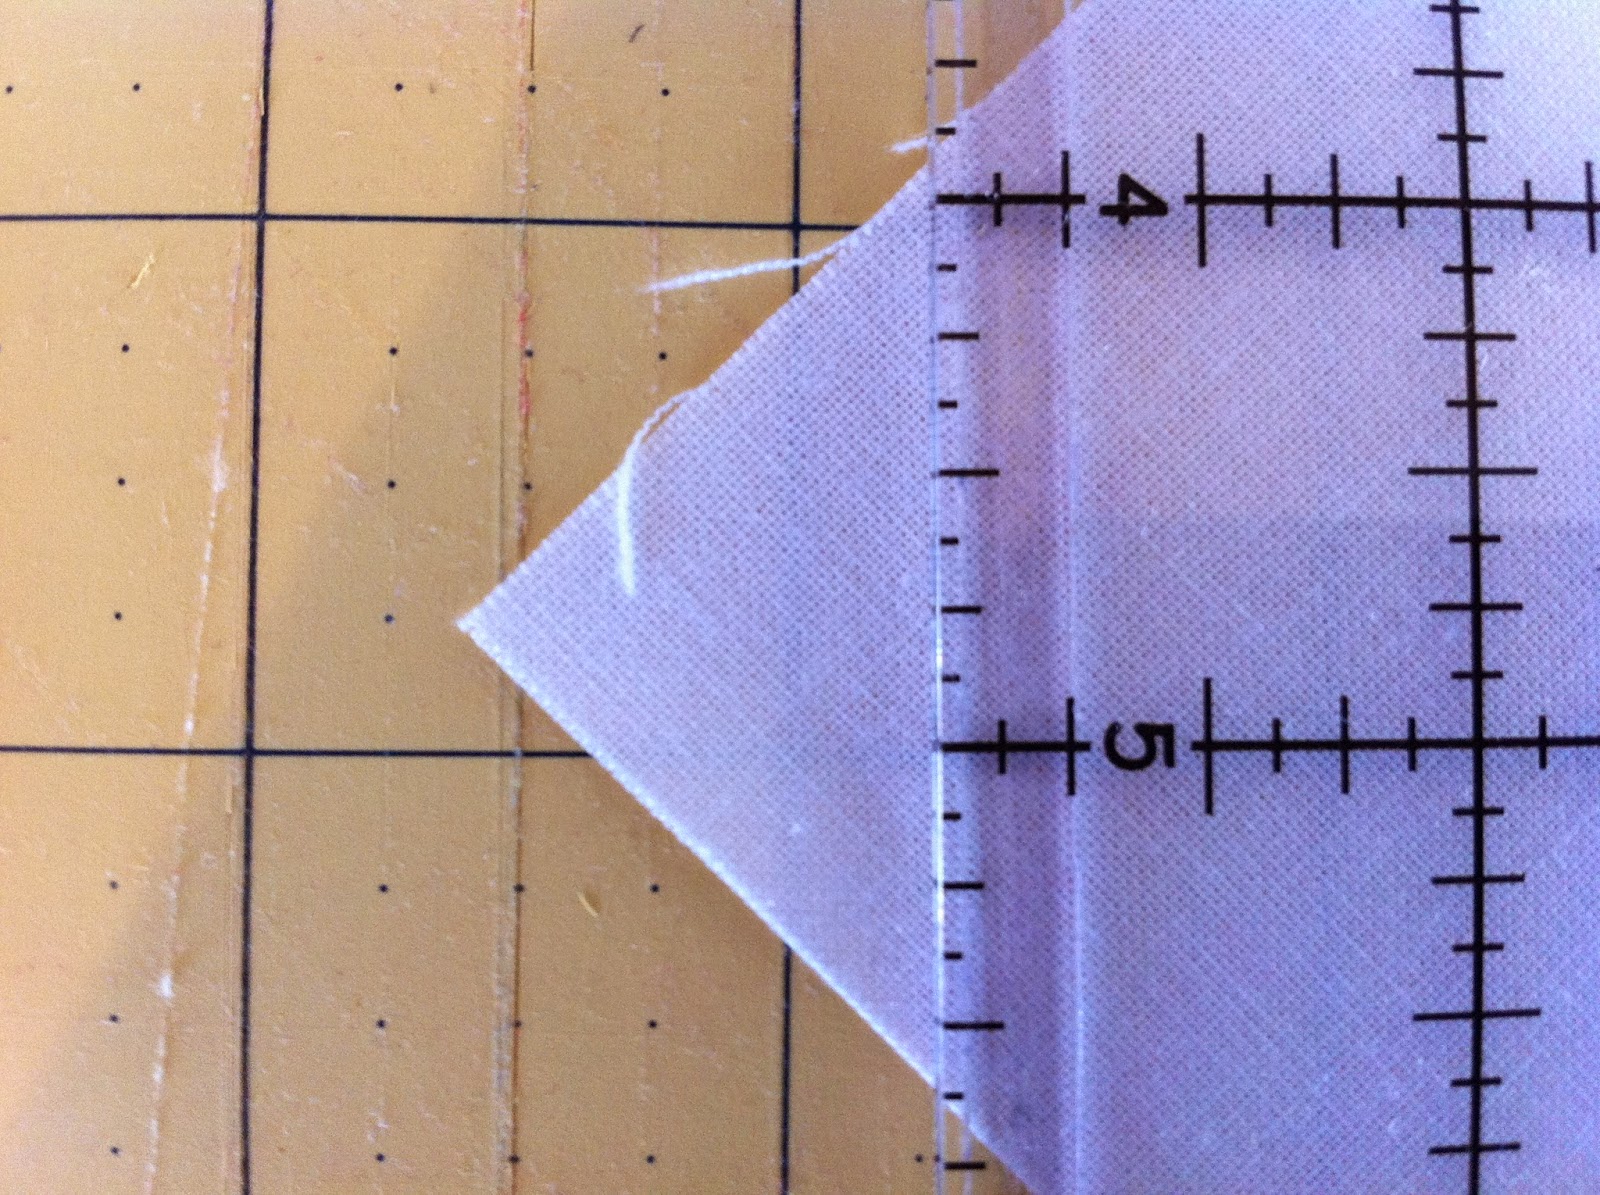
After all "points" are lined up, trim right and top edges of block. Next, lift QCR and rotate block 180* then re-position QCR by lining up trimmed edges with the 4" and 9 1/2" lines on ruler - trim remaining TOP edge only.
After these blocks are trimmed you should be left with an 1/8" space from edge of block and curved seam.
At this point, the W/P/T blocks are squared up properly and ready to be sewn together.
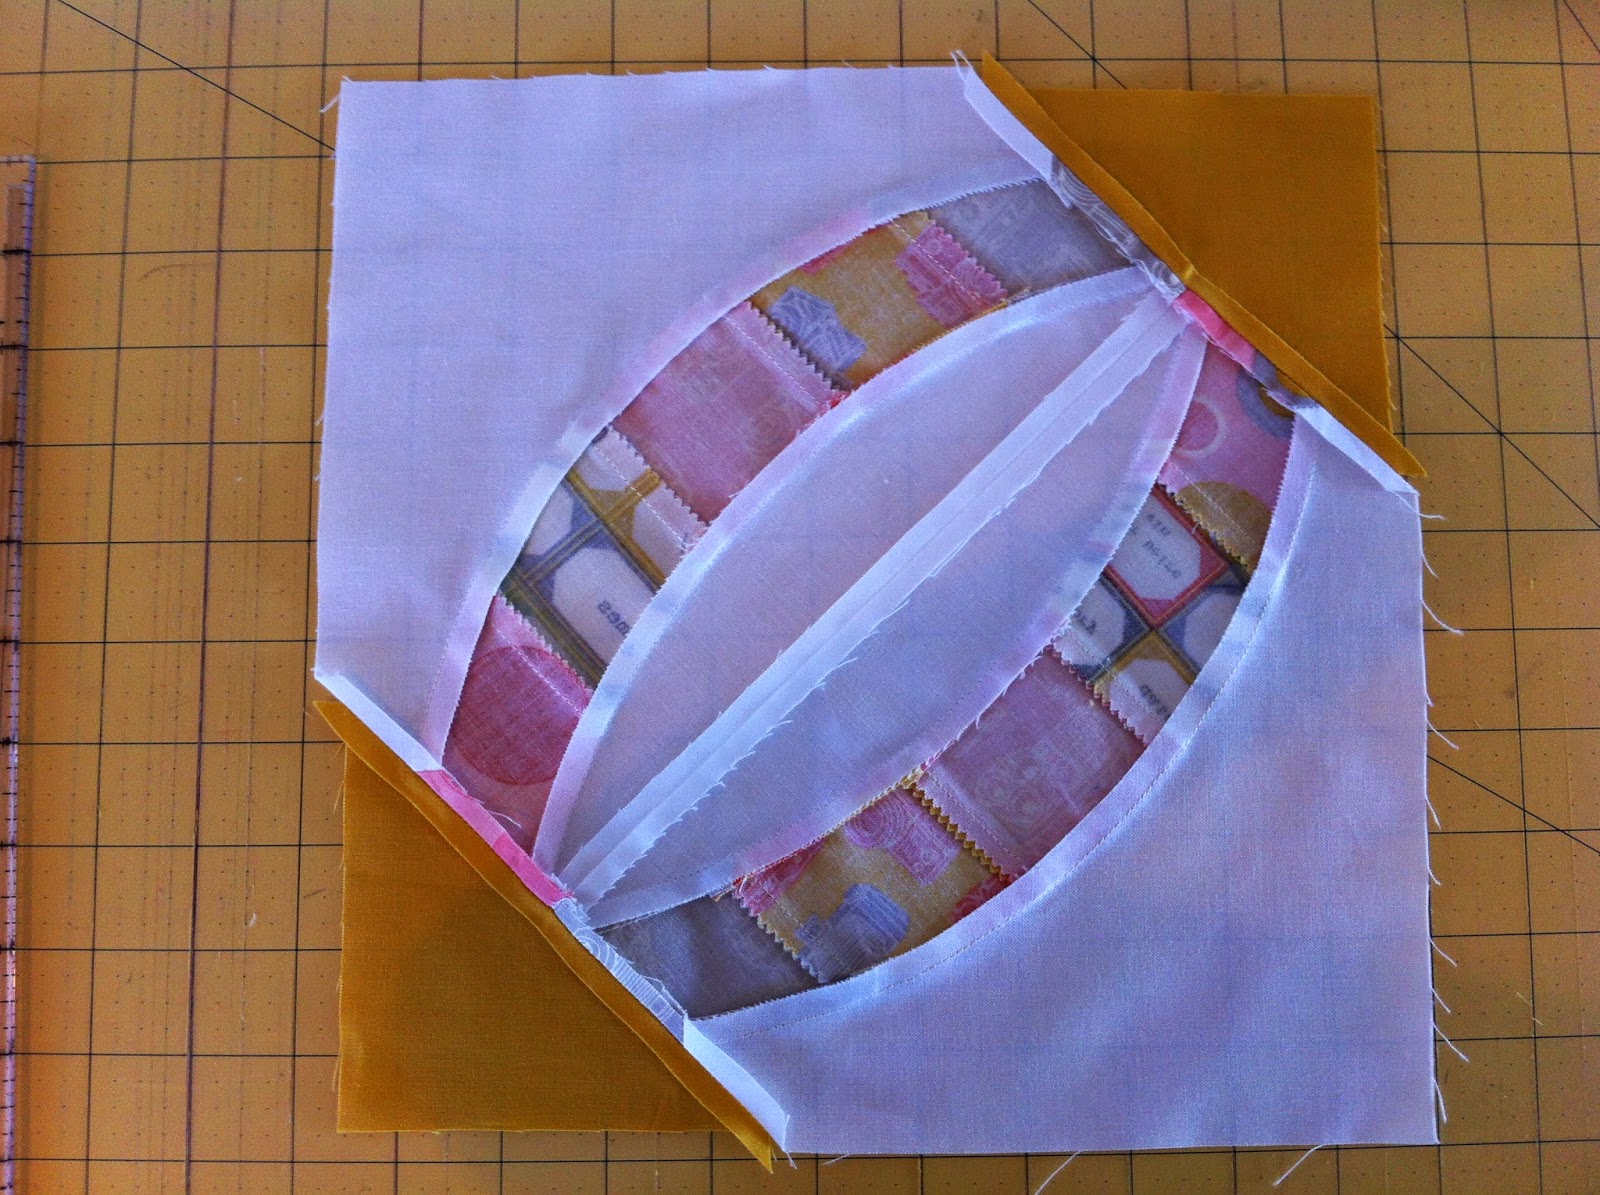
Now, let's square up our block to a 10" square. The W/P/T blocks have been sewn together, the triangles have been sewn on and seams pressed open.
Using a sharpie marker, make a small dot on the
3 5/8" marks at the upper right hand corner of a 10" or larger square-up ruler and the 3 5/8" marks at the bottom left hand corner beginning at 10" mark. These sharpie marks will aid in helping you locate the 3 5/8" marks on ruler easily. Sharpie marker can be easily removed with a little rubbing alcohol or finger nail polish remover.
(ignore the sharpie dot by the 4 - instead notice the sharpie dot over the seam. it is at the 3 5/8" from the 10" line)
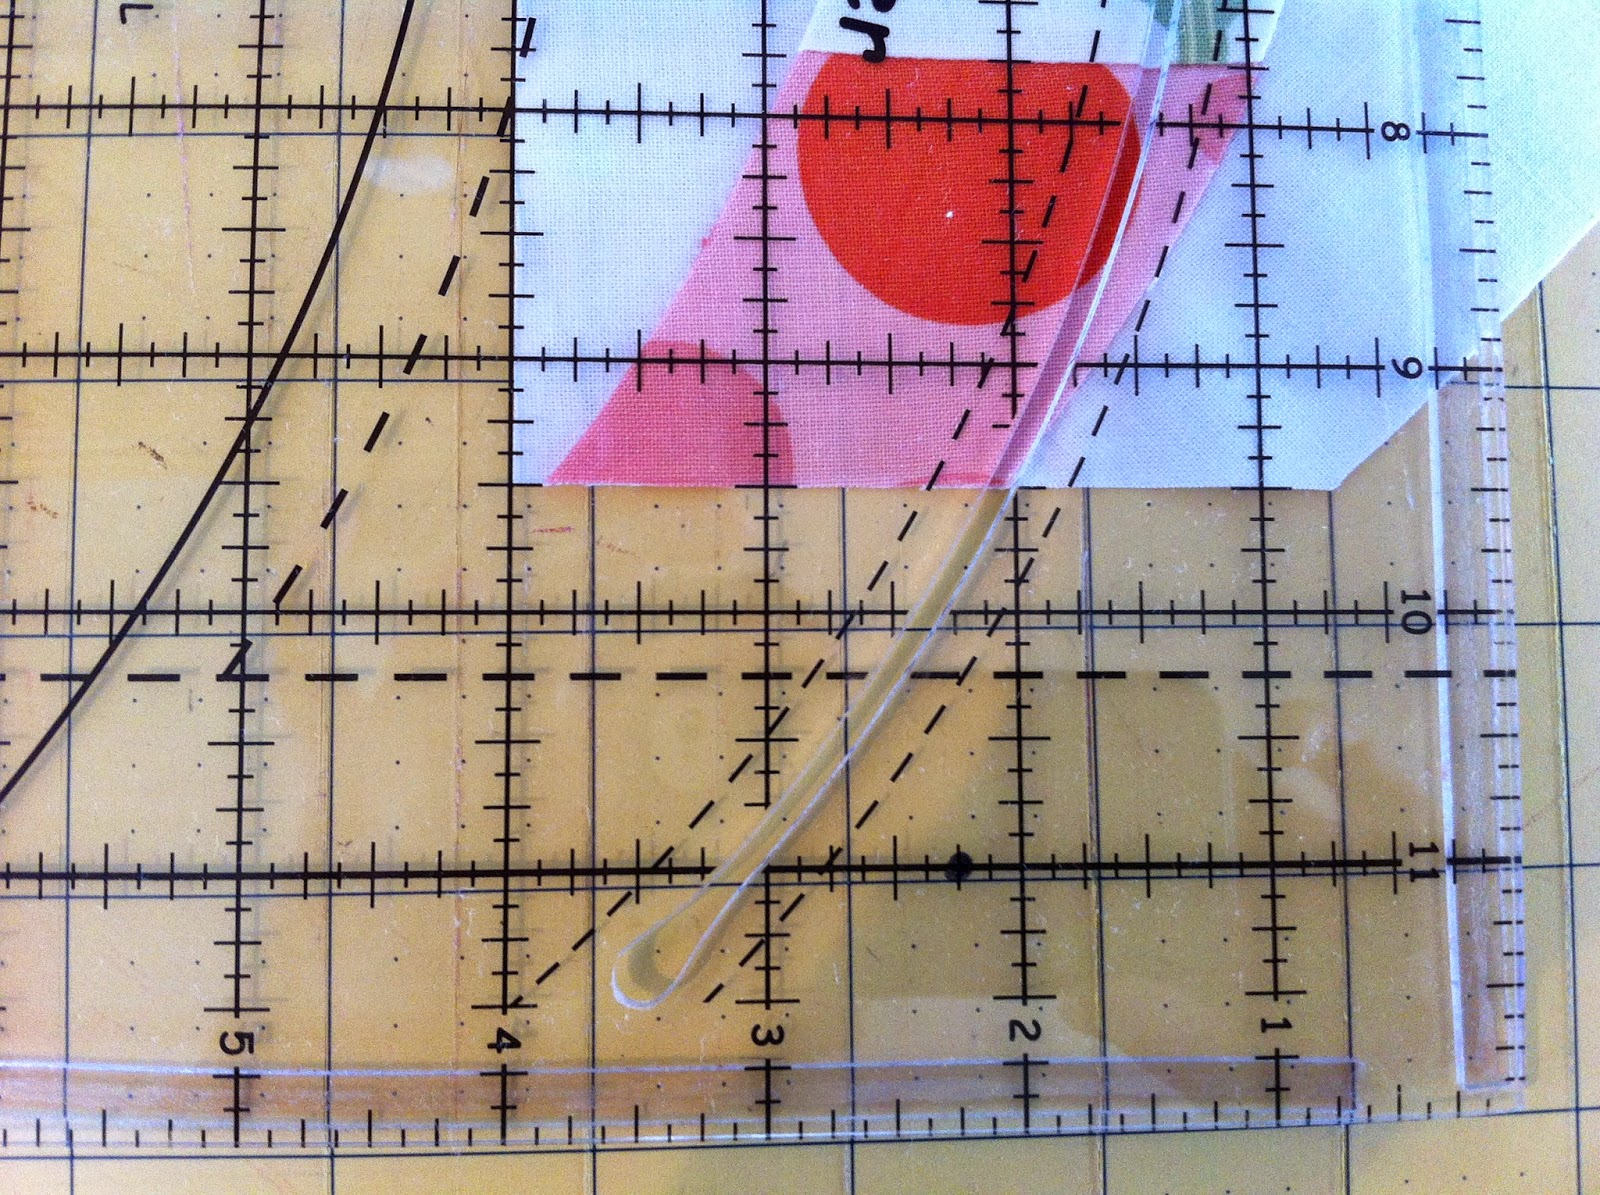
Begin by positioning diagonal line on square-up ruler over diagonal center seam on block then line up triangle seams under the 3 5/8" marks on ruler. The diagonal seam and line on ruler may be off by just a bit but not to worry, it's more important that the triangle seams are under the 3 5/8" marks.
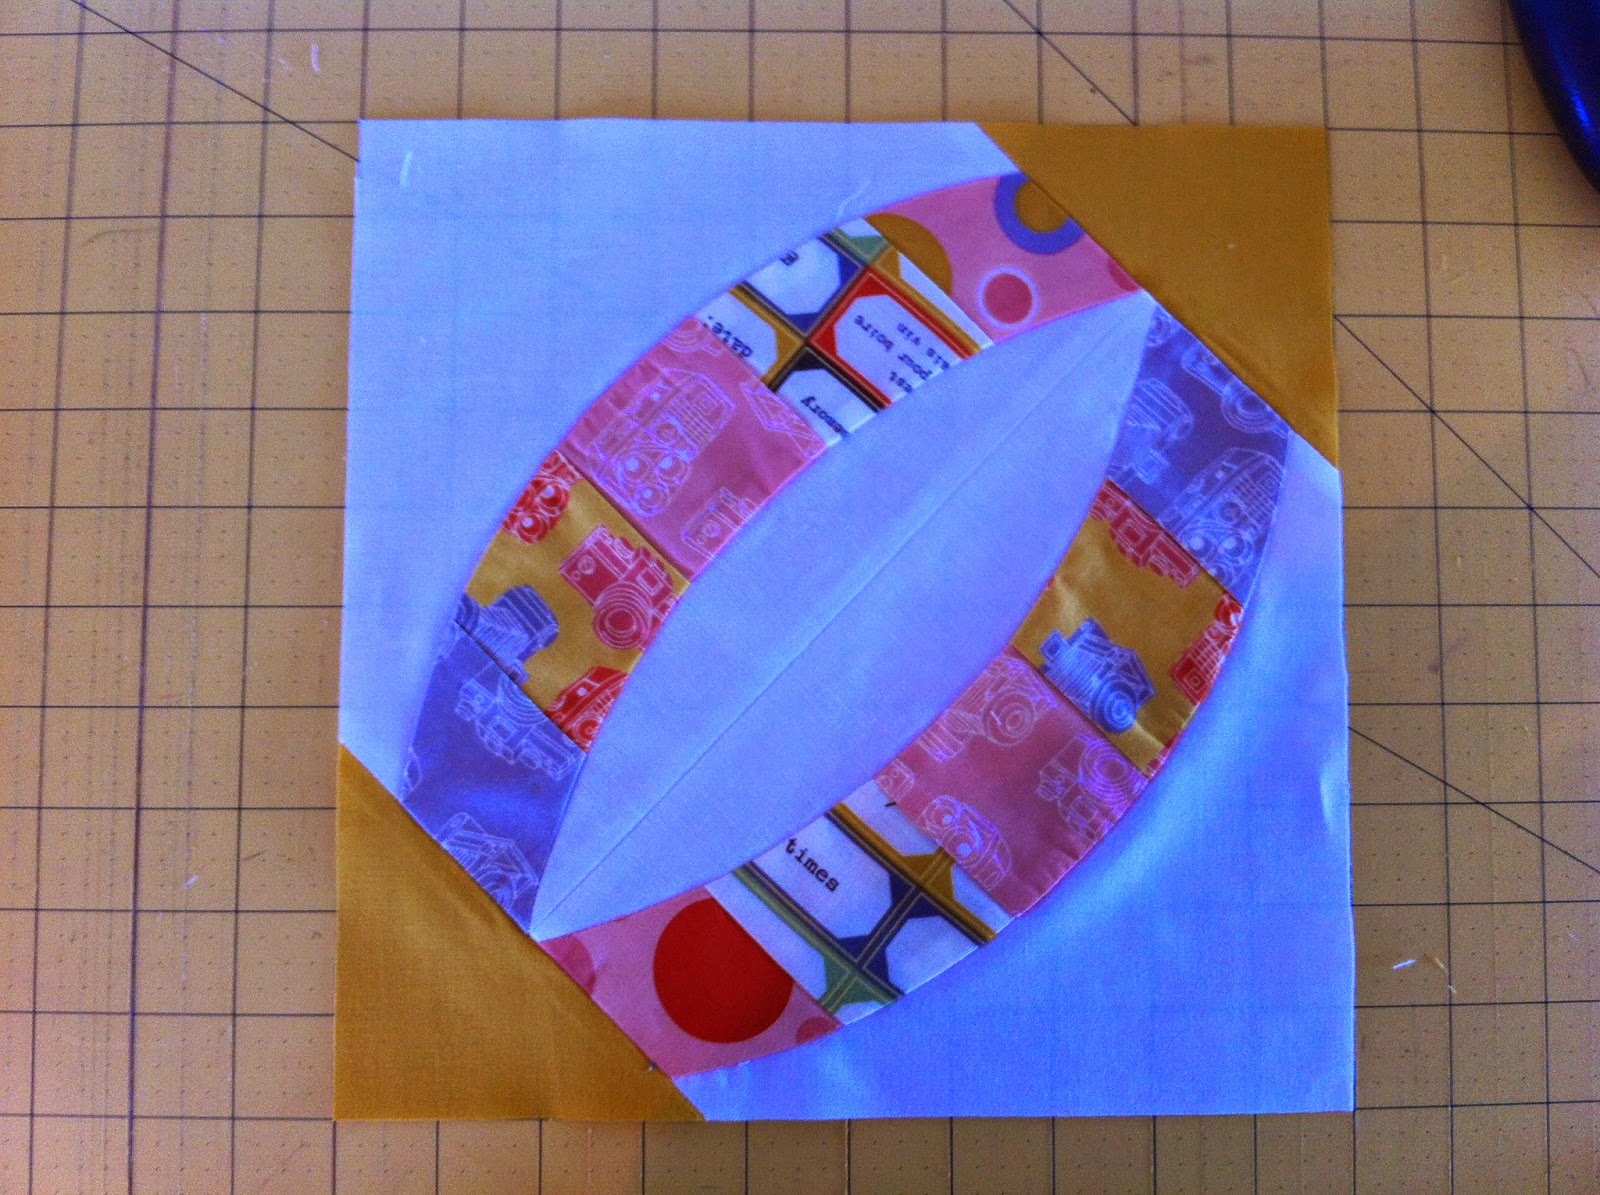
After all points and seams are lined up as close as possible, trim top and right edges then lift square-up ruler, turn block 180*, line up trimmed edges under 10" marks on ruler and trim remaining edges.
Hopefully by following these tips, you will have success at squaring up your Metro Rings blocks.
Remember our SKW patterns are pretty forgiving so don't fret too much! :) To locate this post easily in the future, just click on the Tuesday Tips page at the top of our blog, there you will find a link back to this post.
-Sew Kind of Wonderful-







29 comments
RobinD
I actually couldn’t disagree more with some of the comments. I just finished my third Metro Rings Quilt with plans to make another, admittedly, I took a class before making my first one because it was the first QCR Quilt I’d done. I’ve since also made Metro Hoops and am currently working on Urban Pods.
My points are exactly matched. I found it helped, while squaring up, to place a small 6" creative grids clear ruler at the point and matched it up with the 4 3/4 mark exactly. (I put pictures on Instagram).
JC
I’ve been working on piecing my Metro Rings quilt (I’m not one to give up!). I purchased Wonder Tape (stuff is awesome) to help in my curved piecing. I did not trim up my strips sets to the 10 inches width, for some reason I needed the extra fabric when squaring to the 9 1/2. Squaring the completed block to the 10 inch was really confusing, but I have to admit when following your tips exactly; it did work out. I do love the look of the curved patterns, doing them does get easier. More instructional videos would be great. Feeling better about my purchase,
JC
I too am an experienced quilter/sewer. I agree with the other comments. The piecing is easier if centers are found. The traditional curve piecing way. I am working on squaring the block to the 10". The instructions are really hard to follow. I was told by the retailer that Metro Rings was more difficult than the other patterns. I don’t see myself taking a chance on the other patterns. Very disappointed in this purchase.
Marijke
I bought the ruler so I could make a gift quilt. I’m a pretty experienced quilter (25 years of serious quilting) and have made some complicated patterns, but I could not figure out how to do this one. Despite following the instructions as closely as possible, rereading and rereading, and then finding this page, I just couldn’t get my seams to meet as they should.
I’ll try again since I spent the money on the ruler and pattern, but I have to admit, I’m very discouraged.
christy
It’s a good idea, but the points disappear. If you’re wanting a nicely made quilt with proper points, this isn’t the method to use. I’ve been sewing for over 50 yrs and the bias in these blocks makes them come out wonky. Don’t expect anything more than a fun little throw with cut off points. I’m disappointed. Sorry.
Leave a comment
This site is protected by hCaptcha and the hCaptcha Privacy Policy and Terms of Service apply.