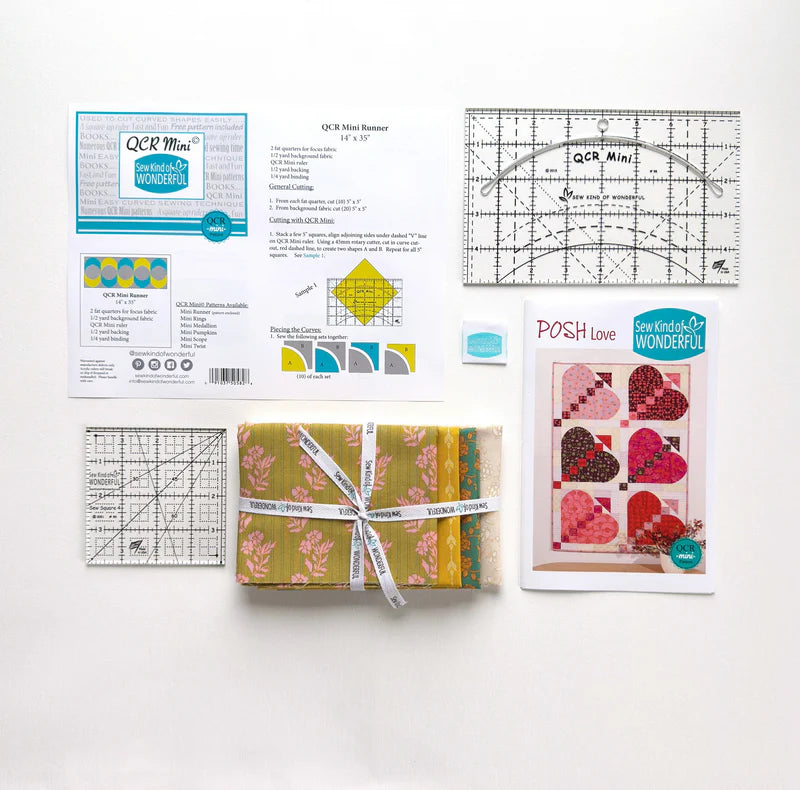
Fabric Requirements:
(8) 2 1/2" x 9" (plum fabric)
(8) 3 1/2" x 9" (background fabric)
Hst fabric:
(2) 3 1/2" x 3 1/2" (plum fabric)
(2) 3 1/2" x 3 1/2" (background fabric)
Stack a few 2 1/2" x 9" rectangles. Position QCR over stack so the top and bottom sit 1/4" past the dotted reference lines and the right edge is at the 1" mark on ruler. Make your cut and discard fabric on right.
Stack a few 3 1/2" x 9" rectangles. Position QCR over stack so the top and bottom sit 1/4" past the dotted reference lines and the left edge is at the 2 3/4" mark on ruler. Make your cut and discard fabric on left.
Sew curves together. You will have 8 curve blocks. Square up blocks to 8 1/2" x 3" rectangles. Positions QCR on block a 1/4" past the seam's on top and bottom. Sample above. Trim right and top sides, flip ruler and square up other two sides.
*Note: The curved ends will not match up perfectly to the hst corners. I didn't want them to. If that's going to bug you, you can square up with the QCR on block a 1/8" past the seam's on top and bottom instead of 1/4".
For the hst's, position right sides together the two alternating 3 1/2" squares. Sew on each side of your reference line to create the hst's. Square up to a 3" x 3" square. Make 4.
Sew curve blocks together in set's of two. Sew hst's to each end of (2) curved sets. Sew according to sample above.
Repeat above steps to each of the 12 blocks.
If you want an added oval look on the outside of all your blocks as an outside border, than just do up more curved blocks and hst blocks. At this point I'm not sure what I'm going to do yet.
~Jenny~


Leave a comment
This site is protected by hCaptcha and the hCaptcha Privacy Policy and Terms of Service apply.